So you fancy doing some blogging? How do you install WordPress for II7 and above? This should show you how to install WordPress in Internet Information Services 7.
First, fire up the Web Platform Installer as this is the easiest way to start. Choose the Applications tab and click “Add” next to WordPress:
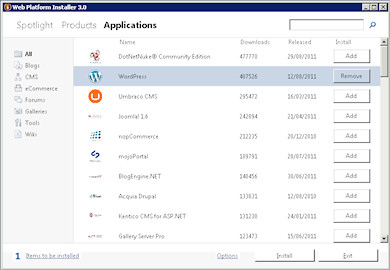
The click “Install”. If you are asked whether to install any extra needed components (e.g. PHP, MySQL etc.) – confirm this.
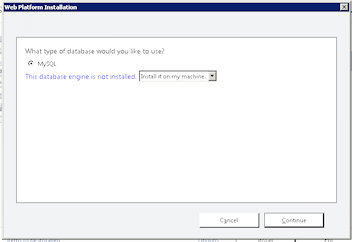
At the next screen choose to install MySQL locally; unless you are going to run it across multiple servers or have an install of MySQL you can use elsewhere.
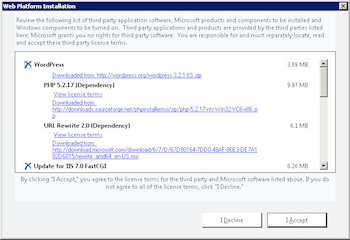
Confirm the install at the next screen. The little crosses threw me a bit, ticks might have been better…
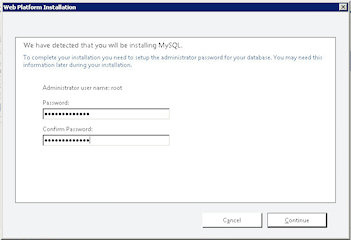
At the next screen you need to create an Admin password for MySQL. Remember what you enter as this password as you will need it later – click continue.
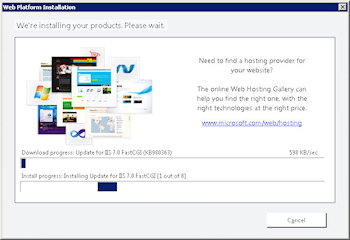
The install of all the various components, and any service packs etc. can take a little while so be patient…

You may be asked to restart a couple times, depending on what bits needed to be installed. After a reboot, if the installation doesn’t continue straight away – just fire up the Web Platform Installer again and it will continue.
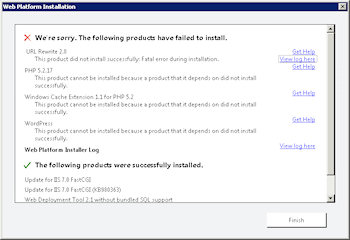
If you receive any installation errors; check the logs, however this is likely to be from restarting at inappropriate times. Just reselect WordPress to install – your list of extra extensions should be shorter – and hopefully the install will now complete without errors.

At the next screen you choose how your new WordPress site will be accessed from the internet (click to see larger version):
- Website: Either Choose a “New Website” if you want it to go from the root of a domain or subdomain; or choose an existing site if you want it off a subdriectory.
- ‘WordPress’ application name: Use / if you are creating a new website and want it in the root, else choose the subdirectory you want it accessed from the Internet at.
- Web Site Name: This is the both the Application pool and the name of the Site in IIS Manager, unless you are creating a subdirectory – when it is just the name of the App Pool.
- Physical path: This is the actual physical directory on disk where your WordPress files will be held.
- IP Address: Unless you want WordPress to only respond on a particular IP address – just leave this as “All Unassigned”
- Host Name: This is the actual domain that WordPress will respond to, so set it to the subdomain or domain you want to use e.g. blog.yoursite.com or www.myblog.com etc.
After filling in the details you want to use, click continue.

At the next screen you need to use the database password you entered earlier for the Database Administrator Password. Scrolling further down:

Choose a database User Name and password for the install to create. Note: this is not the user name you will be using, but the user WordPress will use to connect to the database. If you installed the database locally, put localhost in for the Database Server.
Scrolling further down:

Enter a database name to use, this could be the name of the blog or the website name you used earlier. Next you need to enter a set of Unique Key phrases. These are to strengthen the encryption for passwords and authentication. Go wild, you don’t need to remember these.
Click continue:

You’ve now installed WordPress and just need to do a final configuration step, so click the “Launch WordPress” link on this page.

Now you just need to fill in a few more details on you new WordPress website.
- Site Title: This is the title of you blog “My blog” or whatever you want it to be known as.
- Username: This is the Username you will use to actually login to your WordPress site.
- Password: Choose a password
- Your E-mail: And enter your email address
Click install WordPress…
Congratulations! You should now how WordPress successfully installed and ready to use. Just log in at the next screen providing the login credentials you just supplied:

