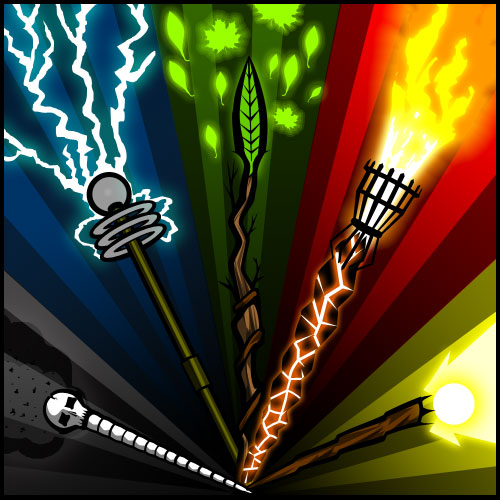
It is time to give everyone a glimpse into some of the creative process that goes into creating the graphics behind Illyriad. Here is a step-by-step timeline of how I piece together an illustration.
Step 1: Brainstorming and Rough Sketch
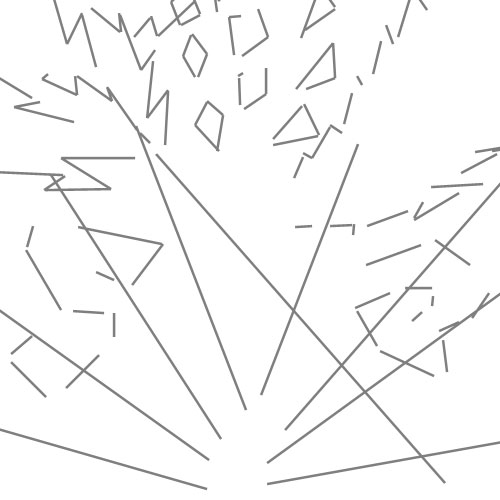
We will be implementing illustrations to the entire technology tree in Illyriad in the very near future, however as I have only been working on this project a couple of short months I have only had enough time to complete one of the trees. To allow us to implement them now we have decided on adding in placeholders to sort of “fill in” for the real graphics while they are being produced. The following is the creative process for a placeholder that will filling in temporarily for Magic tree graphics while they are under production. I wanted to create something that would be all-encompassing for both present and future graphics. When I think of magic I envision a mage or wizard spewing magic from an outstretched hand in a fan of light and energy. I wanted to avoid something as race specific as a human or orc hand so I decided on a series of five staves fanning out from left to right from cool to warm colors. Not only would it give a visually attractive effect it would span a variety of different schools of magic. With this in mind I moved on to my rough sketch.
Yes, this mess of lines is going to turn into something and it really does help me bring out what I have in my head to something I can see and tweak to my liking. This is probably the most important step in the process…it gives me a sort of skeleton for my piece, allowing me to build from the ground up around it. I usually do this step the line tool in Photoshop. Unlike a lot of artists, I like to do even my rough sketches on the computer. Rest assured that this ablated mess will turn into an illustration.
Step 2: Contour
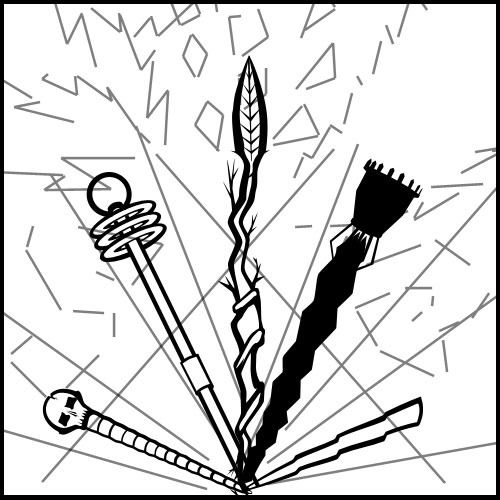
Following my rough sketch I get into the real meat and potatoes of the illustrative process: drawing contours. This stage really allows me to flesh out my sketch and give it some definition. During this step I can see if my idea is really going to work or not, and I can make adjustments and see whether or not I need to scrap the idea and move to something else.
I like to keep in my rough sketch so I can still visualize the overall illustration and see what I am trying to accomplish. Throughout the entirety of the illustrative process from here forward I use the pen tool; this phenomenal tool allows me to tweak lines and shapes through anchor points and keeps out sloppy nasty pixels.
Step 3: Flat Color
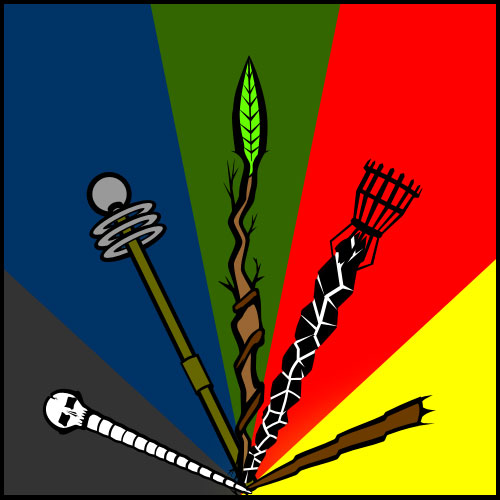
After finalizing my contour lines I move on to my Flat Color step. Here I get rid of my base sketch by hiding the layer (I never delete it as it my be useful later) and then start adding in color through using pen tool vectors of varying colors. Vectors are very important here as well as I can shape and modify them if I don’t get the colors exactly how I like them. A very critical point here to is to having colors beneath the contour lines.
As seen here, this step can be very discouraging…it’s still not very pretty. The colors seem not to mesh well together and everything looks very flat and bland. Don’t worry though, once shading, glow, and gradient effects are added in it really brings the piece to life.
Step 4: Effects
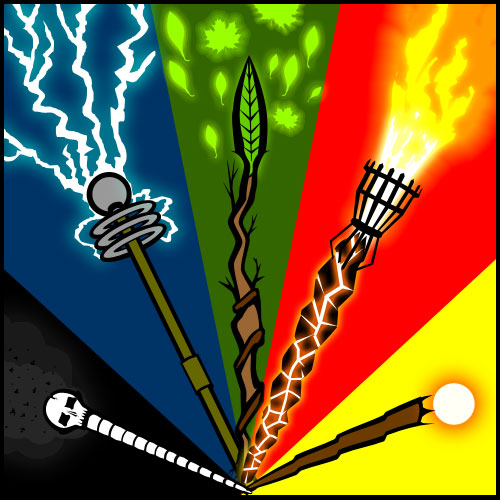
Magic is the perfect illustration to demonstrate the Effect step of my creative process as some of my work completely foregoes this stage. This particular piece had a lot of energy in a very literal sense: lightning and fire mainly.
One of the most effective tools I have found for portraying very intense sources of energy is a simple white line with a colored glow around it. This simple and effective technique gives a sense of intense energy radiating from a source. With this step finalized I move on to the final stage of the process.
Step 6: Shading and Finalizing
By far my favorite step of the creative process is the final step of shading. I go over the entire illustration bit by bit adding in varying degrees of shading with the pen tool, this step is what brings my pieces to life and gives them the energy I am looking for.
In this stage I add gradients, light and heavy transparencies, and all sorts of various effects to complete the illustration. This gives the final piece depth, energy, and emotion.

